Removing Matted Hair from a Cat's Ears: A Guide for Responsible Pet Owners
Introduction
As a cat owner, it's essential to be proactive in maintaining your feline friend's overall health and well-being. One crucial aspect of this is regular grooming, which includes removemattedcathair. Matted hair can cause discomfort, restrict movement, and even lead to skin infections. In this article, we'll walk you through the process of removingmattedcathairfrom your cat's ears, highlighting the importance of prevention and gentle techniques.Why Remove Matted Hair from Your Cat's Ears
Matted hair in the ear area can be particularly painful for your cat, as it can cause skin irritation and even lead to infections if left untreated. Regular grooming helps to prevent matting and keeps your cat's fur healthy and mat-free.When to Remove Matted Hair from Your Cat's Ears
If you notice any of the following signs, it's time to attend to your cat's matted hair:- Visible mats or clumps of hair in the ear area
- Redness, swelling, or discharge in the ear area
- Frequent scratching or rubbing at the ear area
- Reduced grooming or avoidance of the area
Moving forward, it's essential to keep these visual contexts in mind when discussing Removing Matted Hair From A Cat'S Ears.
How to Remove Matted Hair from Your Cat's Ears
Removing matted hair from your cat's ears requires patience and gentle techniques. Follow these steps:Step 1: Prepare Your Cat
Before starting the dematting process, make sure your cat is calm and relaxed. You can do this by:- Providing a comfortable and stress-free environment
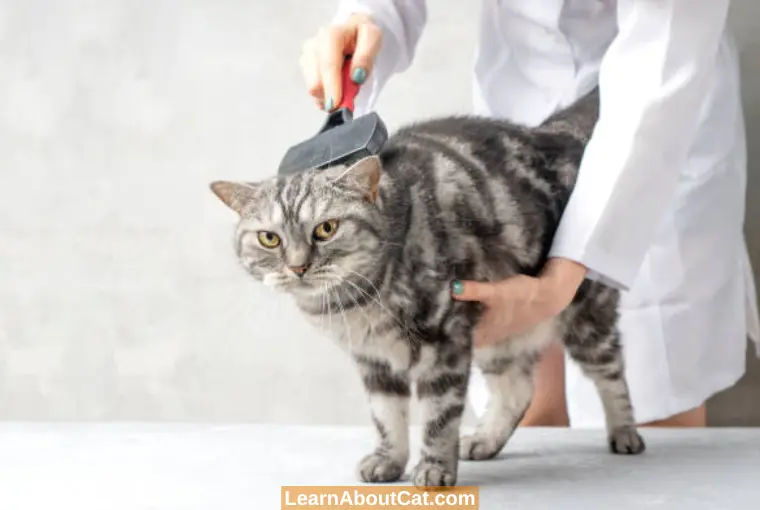
- Brushing your cat's coat gently before tackling the matted area
- Using positive reinforcement techniques, such as treats and praise
Step 3: Start Grooming
Step 4: Work in Small Sections
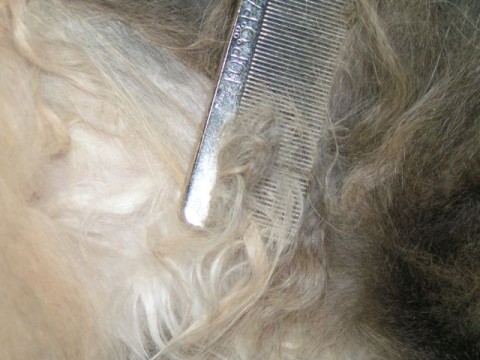
Divide the matted area into smaller sections and work on one area at a time. This will help prevent the mat from tightening further and reduce the risk of skin irritation.Step 5: Use a Mat Splitter (Optional)
If the mat is particularly stubborn, consider using a mat splitter. This tool helps to gently tease out the matted hair without causing further irritation.Prevention is Key
Regular grooming and a balanced diet can help prevent matting in the future. Additionally, consider the following tips:- Brush your cat at least twice a week, focusing on areas prone to matting
- Use a deshedding tool to remove loose hair and reduce shedding
- Trim your cat's coat regularly to prevent overgrowth
- Feed a high-quality, balanced diet that supports skin and coat health


 | My elder shorthair tuxedo cat does ... - Facebook")
")


 | I found a matt in my dog Rocky's ear ...")


 - wikiHow Pet")
:max_bytes(150000):strip_icc()/how-to-de-mat-your-cat-552043-FINAL-5c59c57646e0fb00013fc237.png "Pet Grooming Brush with Stainless Steel Needles for Dog and Cat Hair ...")


