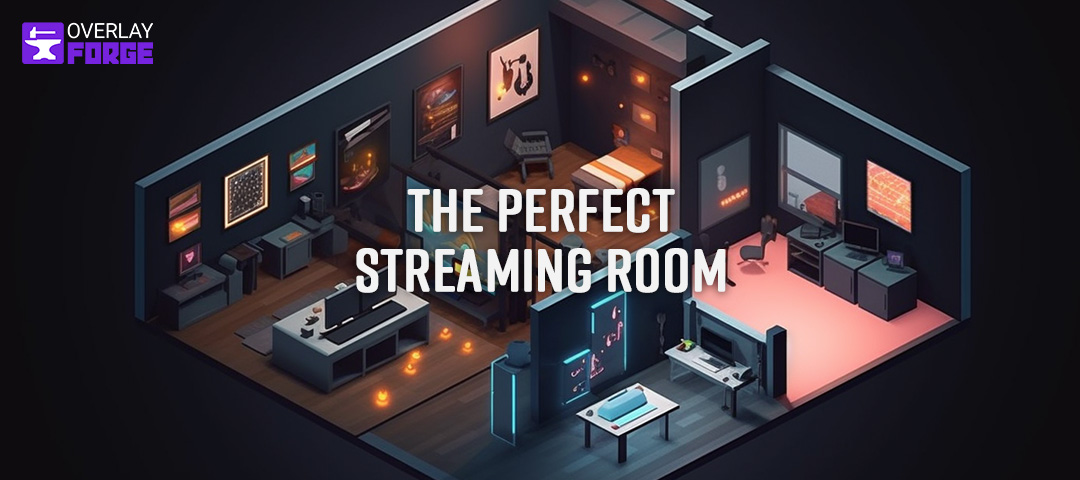
How to Set Up a Twitch Stream for Broadcasts
Streaming has become an integral part of the digital landscape, with platforms like Twitch, YouTube Live, and Facebook Gaming providing an outlet for artists, gamers, and other creatives to share their passions with the world. But for those new to the world of live streaming, getting started can seem daunting. In this article, we'll guide you through the process of setting up a Twitch stream for broadcasts, from creating a Twitch account to configuring your stream settings and equipment.
Setting up a Twitch Account
The first step in setting up a Twitch stream is creating a Twitch account. To do this, simply go to twitch.tv and follow the on-screen instructions. Creating a Twitch account is free, and you can sign up using your existing Amazon or Google account credentials. Once you've created your account, you'll need to complete your profile, which includes adding a profile picture, bio, and other details.
Choose Your Categories
When creating your Twitch account, you'll be asked to choose a category for your channel. This is an important step, as it will help potential viewers find your stream when searching for content. Some popular categories on Twitch include gaming, music, art, and talk shows, but you can choose a category that best fits your content.
This particular example perfectly highlights why How To Set Up A Twitch Stream For Broadcasts is so captivating.
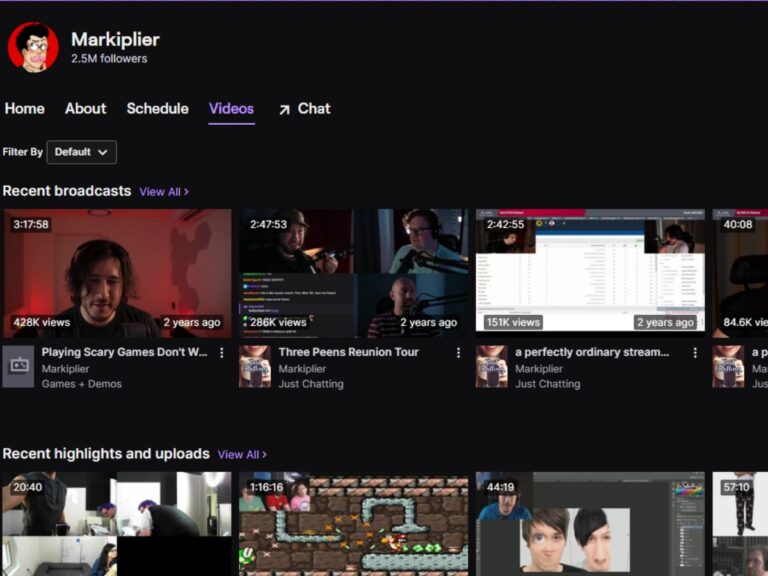
Set Up Your Channel
Once you've chosen your category, it's time to set up your channel. This includes customizing your profile, adding a banner and profile picture, and setting up your streaming settings. Your profile should reflect your brand and style, and make it easy for viewers to understand what your stream is about.
Setting Up Your Stream Settings
Now that your channel is set up, it's time to configure your stream settings. This includes setting your stream quality, resolution, and bitrate. Stream quality refers to the quality of the video and audio you're streaming, while resolution is the size of the video. You'll also need to set your bitrate, which is the amount of data you're sending to Twitch when you stream. A higher bitrate takes up more of your available internet bandwidth, but can improve the quality of your stream.
Choosing Your Encoder
Setting Up Your Overlay
Once you've set up your stream settings, it's time to create an overlay for your stream. An overlay is a visual element that overlays your video feed, and can include information such as your channel name, stream title, and subscription information. You can create your overlay using a variety of tools, including Streamlabs and OBS Studio.
Configuring Your Equipment
Before you can start streaming, you'll need to configure your equipment. This includes your computer, webcam, and microphone. Make sure your computer meets the minimum system requirements for streaming, and invest in a good quality webcam and microphone to ensure high-quality audio and video.
- Webcam: When choosing a webcam for streaming, look for one with high resolution and good low-light performance.
- Microphone: Invest in a good quality microphone to ensure high-quality audio.
- Computer: Make sure your computer meets the minimum system requirements for streaming, including a powerful processor, plenty of RAM, and a good graphics card.

Streaming to Multiple Platforms
One of the benefits of streaming on Twitch is the ability to stream to multiple platforms at once. This includes YouTube Live, Facebook Gaming, and other platforms. You can do this using services like OneStream Live, which allows you to stream to multiple platforms simultaneously.
Conclusion
Setting up a Twitch stream for broadcasts can seem daunting, but with these steps, you'll be well on your way to creating a high-quality stream. Remember to choose the right category, set up your channel, configure your stream settings, and configure your equipment. With practice and patience, you'll be able to create a stream that engages your audience and showcases your content. Happy streaming!


:max_bytes(150000):strip_icc()/A4-StreamonTwitch-annotated-2a5e5dbe5b864c71949ff2c7c21eb299.jpg "How To Stream On Twitch - Guide To Getting 100+ Viewers")


 - Go Live ...")


")


