Minecraft Server Setup Tutorial
In this comprehensive guide, we will walk you through the steps of setting up your own Minecraft Java Edition server using the default server software provided by Mojang Studios. This tutorial is designed to be easy to follow, even for those with limited technical expertise.
Step 1: Download the Server Software
The first step in setting up your Minecraft server is to download the server software. You can find the download link on the official Minecraft website. The software is free and can be installed on most operating systems, including Windows, macOS, GNU/Linux, and BSD.
Step 2: Install the Server Software
Once you have downloaded the server software, you need to install it on your computer. The installation process is straightforward and usually involves following the on-screen instructions. Make sure to follow the prompts carefully to ensure that the software is installed correctly.
Step 3: Create a New Server
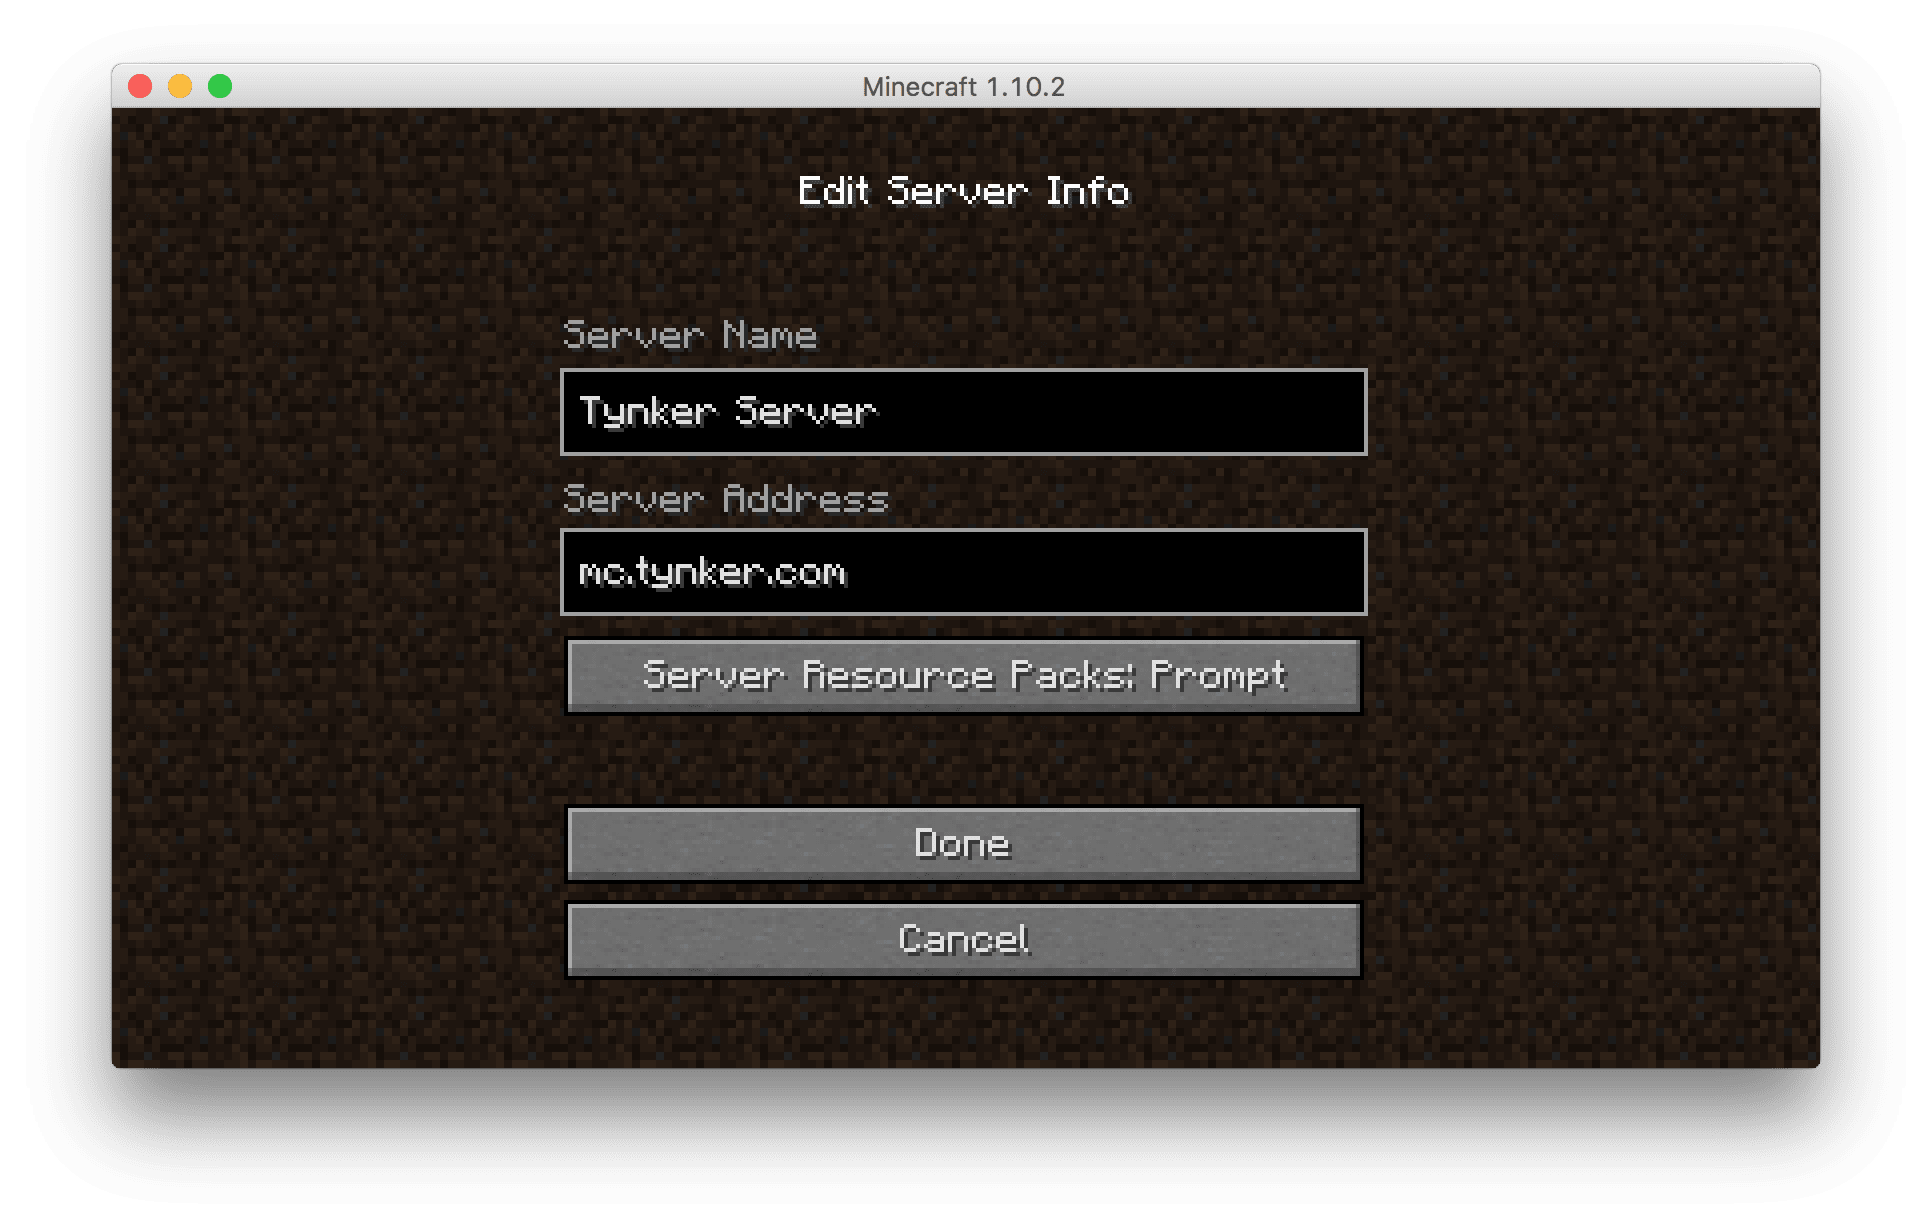
As we can see from the illustration, Minecraft Server Setup Tutorial has many fascinating aspects to explore.
After installing the server software, you need to create a new server. You can do this by running the server software and following the prompts to create a new world. Make sure to choose a unique name for your server and select the appropriate game mode (e.g., survival or creative).
Once you have created a new server, you need to configure the server settings. You can do this by editing the server.properties file or by using a server management tool. Make sure to set the correct settings for your server, including the server name, game mode, difficulty level, and resource pack.
Step 5: Set Up Port Forwarding
Port forwarding allows you to access your server from outside your local network. To set up port forwarding, you need to configure your router to forward incoming traffic on the default Minecraft port (25565). This will allow players to connect to your server from anywhere on the internet.
Step 6: Test the Server
Step 7: Optimize the Server Settings

This particular example perfectly highlights why Minecraft Server Setup Tutorial is so captivating.
Once you have tested the server, you can optimize the server settings to improve performance. You can do this by adjusting the server's memory settings, thread count, and other performance-related settings. Make sure to monitor the server's performance and adjust the settings accordingly.
Step 8: Launch the Server
After optimizing the server settings, you can launch the server by running the server software. Make sure to launch the server in the correct directory (e.g., the Minecraft Server file directory) and enter the correct command (e.g., "java -jar "your jar name".jar") in the command prompt.
- Make sure to repeat steps 8-9 to launch the server again.
- Verify that the server is running correctly and that the game is running smoothly.
Step 9: Monitor the Server
After launching the server, monitor the server's performance to ensure that it is running smoothly. You can do this by checking the server's logs, monitoring the player count, and adjusting the server settings as needed.

Moving forward, it's essential to keep these visual contexts in mind when discussing Minecraft Server Setup Tutorial.
Conclusion
Setting up a Minecraft server can be a daunting task, but with this comprehensive guide, you should be able to set up a functional server in no time. Make sure to follow the steps carefully and monitor the server's performance to ensure that it is running smoothly.
A: You can optimize your server's performance by adjusting the server's memory settings, thread count, and other performance-related settings. Make sure to monitor the server's performance and adjust the settings accordingly.
Q: What are some common issues that can affect a Minecraft server?
A: Some common issues that can affect a Minecraft server include lag, server crashes, and player disconnections. You can troubleshoot these issues by monitoring the server's logs, checking the player count, and adjusting the server settings as needed.


 - wikiHow")
")
 | Beginner's Guide")

